
The Publishing Scheduler application in Sitecore XM Cloud and Sitecore AI enables you to schedule content pages to be published or unpublished at a specified future date and time. This ensures timely, automated content delivery while reducing manual effort and operational risk.
| Important: The Publishing Scheduler can be used on both new and existing pages. When scheduling updates to existing content, you must first create a new version of the page. If you schedule publishing for an existing page without creating a new version, the current live page will be unpublished immediately and will remain unavailable until the scheduled publishing date and time. |
To schedule publishing:
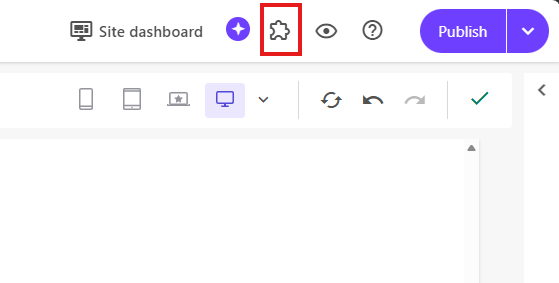
In Page Builder, click on the Apps (puzzle piece) icon on the top right, and select Publishing Scheduler.
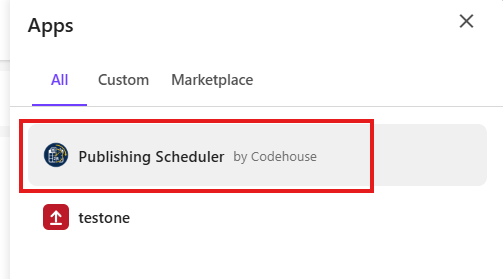
The Publishing Scheduler panel will open to the right of the content tree.
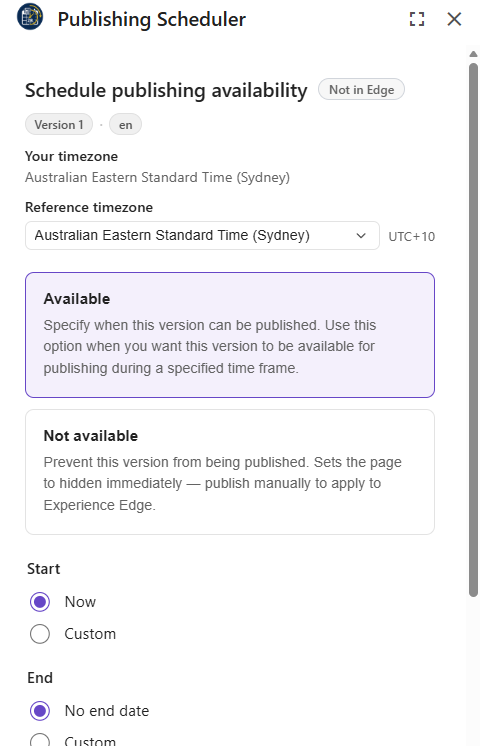
The table below describes the various labels and fields in the panel:
Label / Element / Field
Description
Publishing Status Badge • Not in Edge indicates the page is new and doesn't have a published version on the live site.
• Published to Edge indicates the page is published to the live site.Version + Language Badge This badge displays the version and language that is being scheduled for publishing. Your timezone Your local timezone Reference timezone Your local timezone (e.g., Pacific Daylight Time) may differ from the timezone in which you want your content to be published (e.g., Mountain Daylight Time).
The Reference Timezone defines the timezone used when scheduling content. By default, it is set to your local timezone, but it can be changed if you need publishing and unpublishing actions to occur according to a different timezone.
All publish and unpublish times are based on the selected Reference Timezone, ensuring content is scheduled for the correct time regardless of your local timezone.Available / Not available
• Available: Select this option to make the page available for publishing. You can schedule a publish date and time, and optionally specify an end date and time to automatically unpublish the page. Refer to the Start and End fields below.
• Not available: Select this option to unpublish the page.Note: After changing the status to Not available, you must republish the page for the unpublish action to take effect. Republishing applies the status change and removes the page from publication.
Start / End The Start and End fields allow you to schedule when a page is published and, if required, when it is automatically unpublished.
Start:- Now: Select this option to publish the page immediately.
- Custom: Select this option to schedule the page to be published at a specific date and time. Dates and times entered in the date picker are based on your local timezone. The equivalent time in the selected Reference Timezone is displayed below the field.
End:
- No end date: Select this option if the page should remain published indefinitely.
- Custom: Select this option to schedule the page to be unpublished at a specific date and time. Dates and times entered in the date picker are based on your local timezone. The equivalent time in the selected Reference Timezone is displayed below the field.
Publish options • Publish subitems: Select this option to publish any associated subitems, such as data sources, components, or subpages, along with the page.
• Publish related items: Select this option to publish any related content used by the page, such as shared dataEnable Scheduling Once you have configured the required publish and unpublish dates and times, click Enable Scheduling to activate the schedule and apply it to the item.
Publishing Dashboard
The Publishing Dashboard provides a central view of all scheduled publishing activities, including both upcoming and previously executed publishing and unpublishing actions.
Access the Publishing Dashboard
From Page Builder, click Site dashboard in the upper-right of the screen. The Sitecore AI Dashboard will open in a new tab.
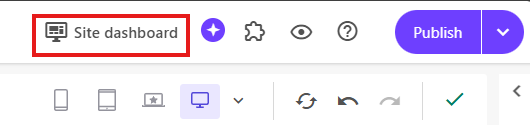
Click the Apps (puzzle piece) icon in the upper-right corner, and select Publishing Scheduler. The Publishing Dashboard will open.
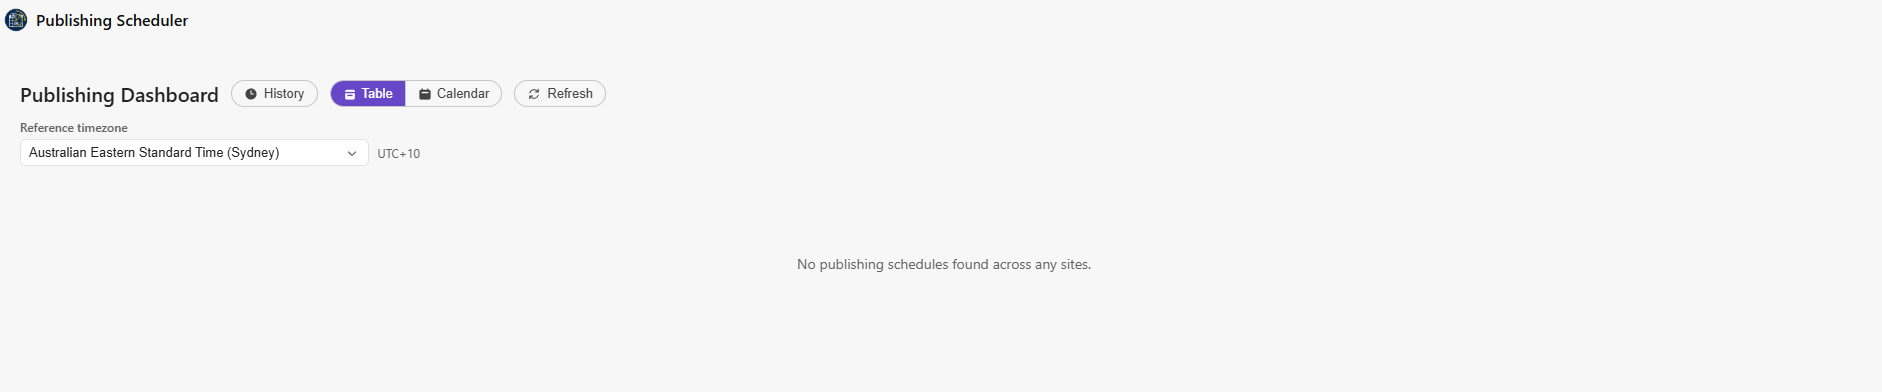
Dashboard Information
The table below describes the information available within the Publishing Dashboard:
Field / Element | Description |
| History | Shows scheduled publishing activity for the past 30 days |
| Table / Calendar | Toggles between Table and Calendar view |
| Refresh | Refreshes the dashboard |
| Reference timezone | Table view: The reference timezone is displayed in the start and end columns Calendar view: The Reference Timezone is displayed in the details pop-up when you select a scheduled item. Note: start/end dates are in your local time, with the reference timezone displayed underneath. |
| Table View | A table view of the scheduled publishing jobs. • Start: The scheduled publish date and time. The associated Reference Timezone is displayed below. |
| Calendar View | A calendar view of the scheduled publishing jobs. Clicking on a scheduled job in the calendar displays a popup with the following details: • Action badge: Indicates the scheduled action • Page: The path of the page scheduled for publishing or unpublishing. • Language: The language version associated with the scheduled publishing job. • Scheduled Time: The scheduled publish (or unpublish) date and time. The associated Reference Timezone is displayed below. • Publish Options: Indicates whether subitems and / or related items are included in the publishing job. |
| Include History | This option is available in the calendar view. Click on this button to show the past scheduled publishing jobs in the calendar. |
| Site Dropdown | This option is available in the calendar view. A site will only appear in the dropdown if there is a scheduled publishing job for that site. |